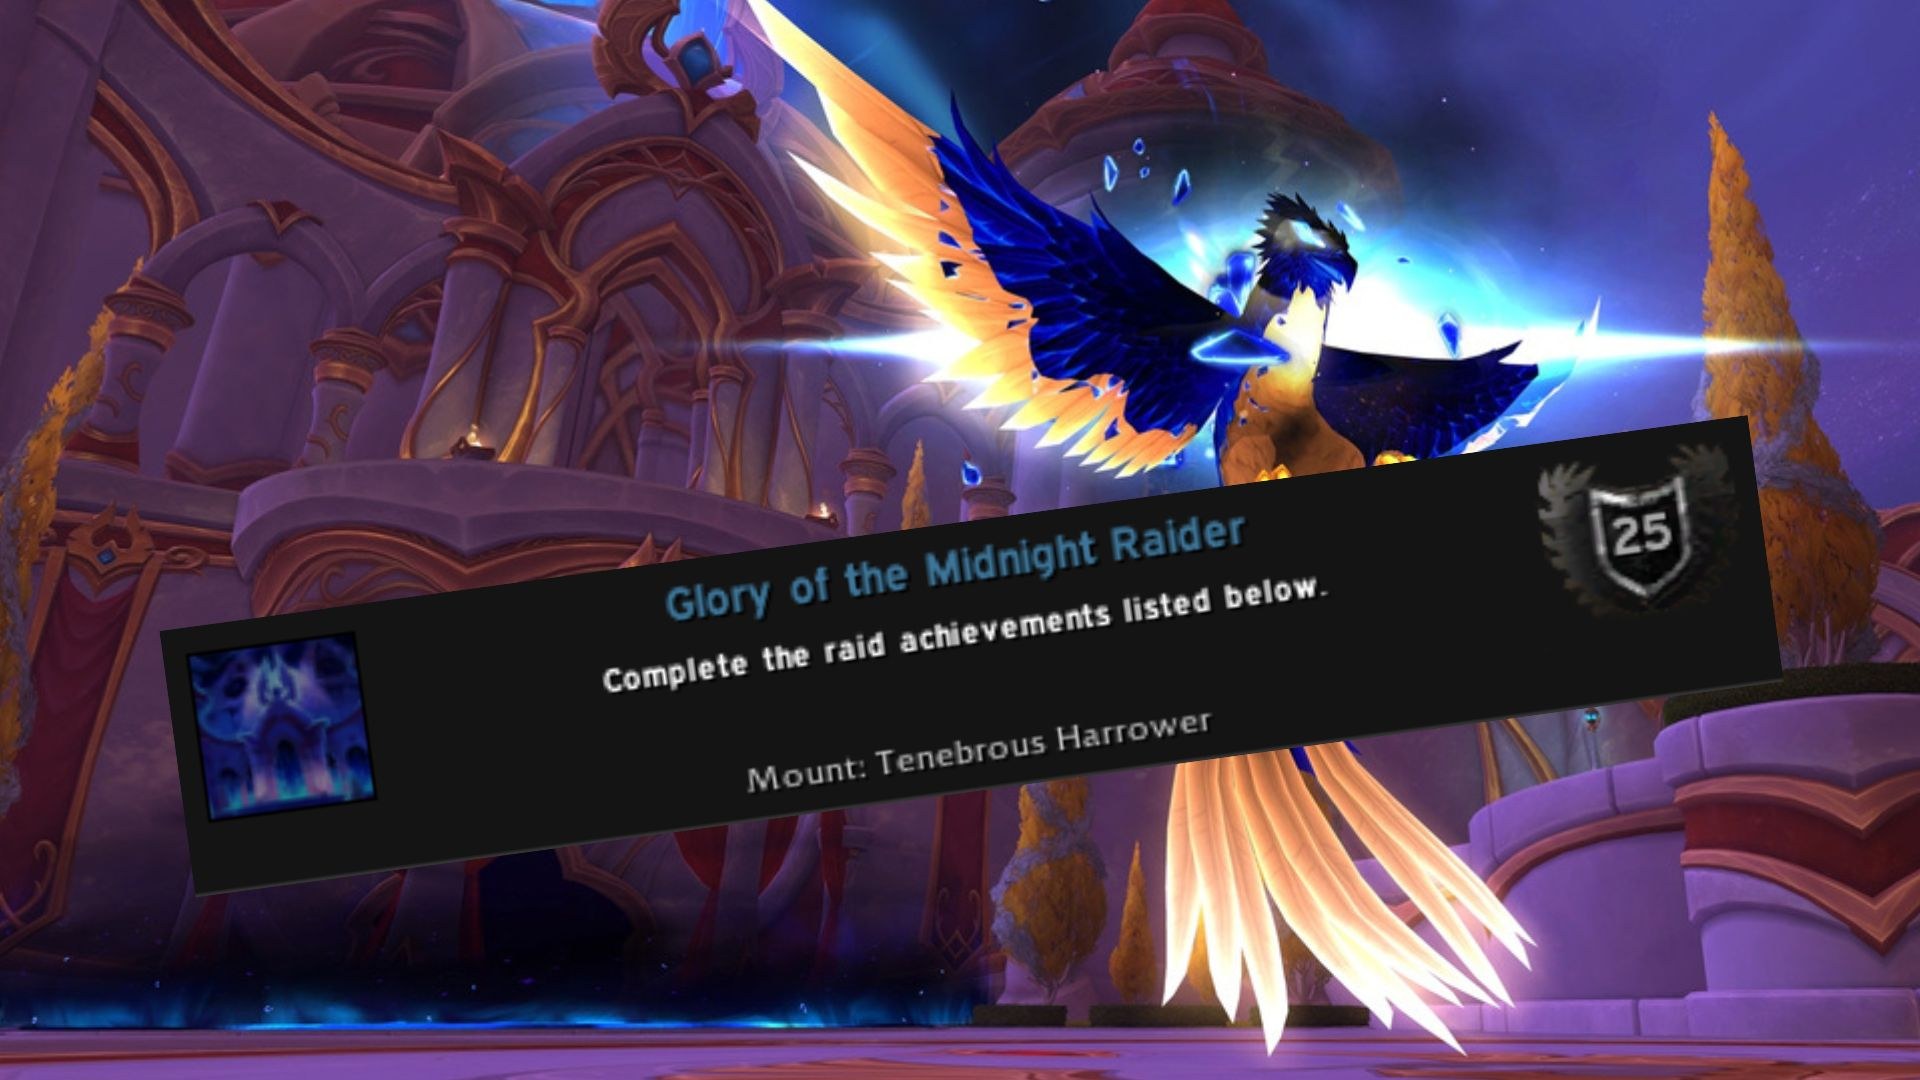
Glory of the Midnight Raider ties together one achievement from each of Midnight's three Season 1 raids - The Voidspire, The Dreamrift, and March on Quel'Danas - and rewards the Tenebrous Harvester mount. Every fight can be done on Normal difficulty or higher, and it's worth having at least one player track completion live during the raid so nobody finds out a step was missed after the boss is already dead.

Glory of the Midnight Raider
25 points
Complete the raid achievements listed below.
The Voidspire
The Voidspire holds eight of the ten achievements needed, so most of the work happens here.

Nothing to See Here
10 points
Get consumed by the Devouring Host in The Voidspire or March on Quel'Danas.
The easiest one in the whole meta-achievement, and it isn't tied to a boss fight at all. Just walk off any platform into the void and let the Devouring Host consume you. This also works in March on Quel'Danas if you'd rather knock it out there instead.

The Only Winning Move Is Not To Play
10 points
Defeat Imperator Averzian after causing him to destroy your banners in the Voidspire on Normal difficulty or higher.
Earned on the first boss, Imperator Averzian. Three glowing banners spawn around the platform - three players each need to grab one. During the fight, Void Shapers spawn that must be soaked twice each to despawn them; after a Void Shaper is soaked down, place a banner into an empty slot, arranging them like a tic-tac-toe board.
The trick is timing: don't let three Void Shapers line up in a row, or the boss "wins" the game and the banners get destroyed the wrong way. Once the third banner is placed correctly, the achievement locks in immediately and you can finish the boss off as normal.

Hungry Hungry Hatchlings
10 points
Defeat Vorasius after every player feeds a hatchling enough to put it to sleep in The Voidspire on Normal difficulty or higher.
On Vorasius, a barrel spawns early in the fight - every player needs to click it to receive their own hatchling, which follows them around and is identifiable by a white beam. When the add phase hits and the adds die, they drop meat on the ground; walk your hatchling over to it so it can feed.
Each hatchling needs 8 feed stacks before it falls asleep and grants its owner the Hatchling Fed buff. Every player needs their own hatchling fed and asleep before the boss dies - if anyone dies mid-fight, their hatchling is lost and the whole attempt no longer counts.

It's Treason Then
10 points
Defeat Fallen-King Salhadaar after everyone /kneels to him before the battle starts in The Voidspire on Normal difficulty or higher.
Before pulling Fallen-King Salhadaar, every player needs to target him and use /kneel. This applies a debuff that adds a new mechanic for the rest of the fight: a Void image periodically spawns somewhere in the room firing a laser straight up. Face that image directly or you'll be one-shot by it - it can spawn at any point, including during the intermission.
Dying elsewhere in the fight doesn't cancel the achievement, so this one is purely about everyone remembering to kneel before pull and staying alert for the image afterward.

Ready, Set, Snap!
10 points
Defeat Vaelgor & Ezzorak after all players break each Nullzone's tethers within 3 seconds in The Voidspire on Normal difficulty or higher.
On Vaelgor & Ezzorak, players get tethered together by a Nullzone at intervals through the fight. The whole raid needs to break every tether within 3 seconds of it appearing by spreading apart - miss the window even once and the achievement fails for that attempt, so it has to go clean the entire fight, not just once.
It's a coordination check more than a mechanical one - a quick callout when a Nullzone appears goes a long way.

Aura Farming
10 points
Defeat the Lightblinded Vanguard while your entire raid has Maximum Aura in The Voidspire on Normal difficulty or higher.
Before heading up to Lightblinded Vanguard's platform, interact with the Tome of Divinity sitting on the ground - this applies an Aura Farming debuff to everyone. During the fight itself, three separate auras appear tied to the encounter's mechanics, and every player needs to stand in all three at some point, cycling the debuff each time.
The debuff increases damage taken while active, so keep executing the fight's normal mechanics cleanly while rotating through the auras. Defeat the boss once the whole raid has hit Maximum Aura.

We Will, In Fact, See It Again
10 points
Defeat Crown of the Cosmos after slaying a Fleshy Monstrosity and returning all of its meat to The Emptiness in The Voidspire on Normal difficulty or higher.
This one spans the second half of the Lightblinded Vanguard fight and carries into Crown of the Cosmos. Right after Lightblinded Vanguard dies, a dark puddle appears on the ground - stand in it to stack Clinging Void. At 10 stacks you get the Lump of Flesh debuff (10-minute timer) and an action button you'll use during the very next boss.
During Crown of the Cosmos's intermission phases, get pulled toward the middle and use that action button - everyone needs to use it during the first intermission to summon and defeat a Fleshy Monstrosity, then use it again during the second intermission to return the meat to The Emptiness. Once that's done the achievement is locked in and the boss can be finished normally.
The Dreamrift

Falling Between The Quacks
10 points
Defeat Chimaerus after plucking all Corrupted Feathers from Sergeant Quackers and rescuing him from the Aln in The Dreamrift on Normal difficulty or higher.
Interact with Sergeant Quackers at the entrance before clearing to the boss platform, Chimaerus. During the fight's phase mechanic, half the raid gets pulled into a separate phase where Sergeant Quackers appears and runs around - everyone who's phased needs to interact with him to pluck a Corrupted Feather before he can be considered "rescued."
He moves fast, but interacting with him briefly roots him, giving the next player a window. Prioritize clearing adds first rather than chasing him - he'll still be there when the other half of the raid gets phased in during the next cycle. Once every player across both phase groups has interacted with him, the achievement is met.
March on Quel'Danas
This one revolves around an egg near the entrance - pick it up (ideally on a tankier player, since it applies a stacking damage debuff once carried) and fill its bar with both void and light energy by standing in matching-colored puddles during the fight. You can only fill it with puddles matching your own feather color, so pass the egg to a differently-colored player when you need the other type - and fully finish one color before starting the other, since switching early can reset progress.
Passing the egg off for the second soak is worth doing anyway, since the damage debuff only gets worse the longer one player holds it. Once both bars are full, finish the boss to complete the achievement.

All the Things She Said
10 points
Defeat Midnight Falls after returning 12 Memories of Alleria back to L'ura in March on Quel'Danas on Normal difficulty or higher.
Interact with the void torch near the entrance before pulling Midnight Falls. The achievement itself happens in the fight's third phase: once the boss covers part of the floor in void, images spawn in that area that need to be interrupted or kicked before they despawn - 12 of them in total across the phase.
Once all 12 are kicked, the achievement locks in - but don't stop there. The boss enrages once it's low enough, so get it there and finish the kill before that enrage makes the rest of the fight much harder.
Putting It Together
None of these ten achievements are difficult in isolation - most come down to one specific thing the whole raid needs to remember to do, rather than a hard mechanical check. The real risk is forgetting a step on a boss you've already cleared a dozen times without the achievement in mind, so it's worth calling out each one before pull until your group has banked all ten. Clear all three raids' requirements and Glory of the Midnight Raider - and the Tenebrous Harvester - are yours.